Hello friends. Last week it was my turn to travel to my sweet friend
Michele's house and play cards. As usual, we did a lot more hugging, talking, and laughing than we did making cards, but never fear...we do have a few to share with you today! And let me not be remiss in mentioning that Michele served a FABULOUS lunch of Thanksgiving leftovers that still has my mouth watering!! I don't know how many of you know that Michele used to be a caterer, and boy can that girl cook! I rounded off our lunch with my peanut butter brownies, and even Michele's hubby gave them a 2 thumbs up! But then, what's not to love about chocolate and peanut butter...the two just go together!!
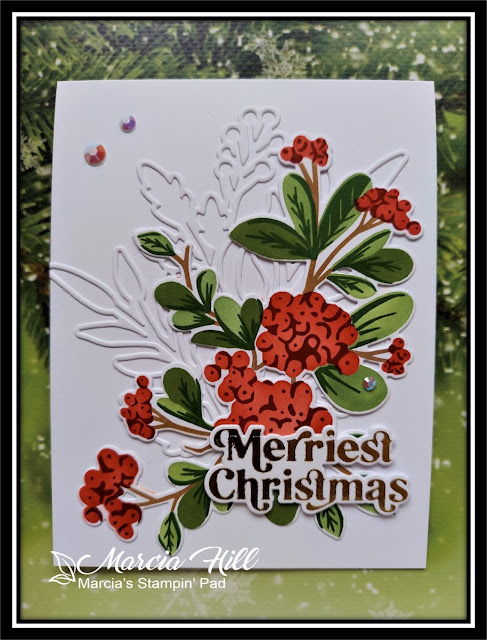
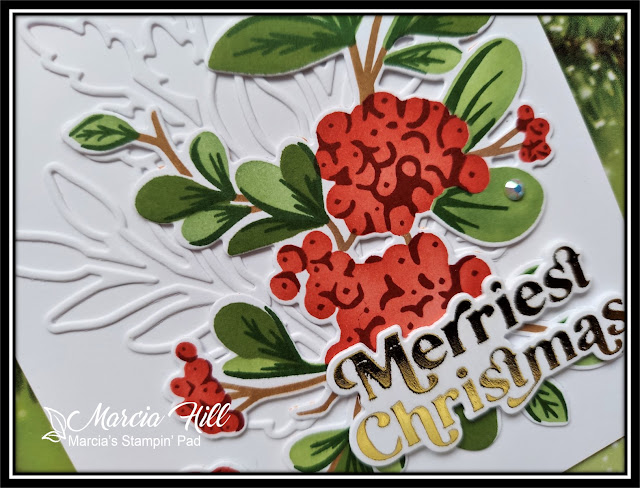
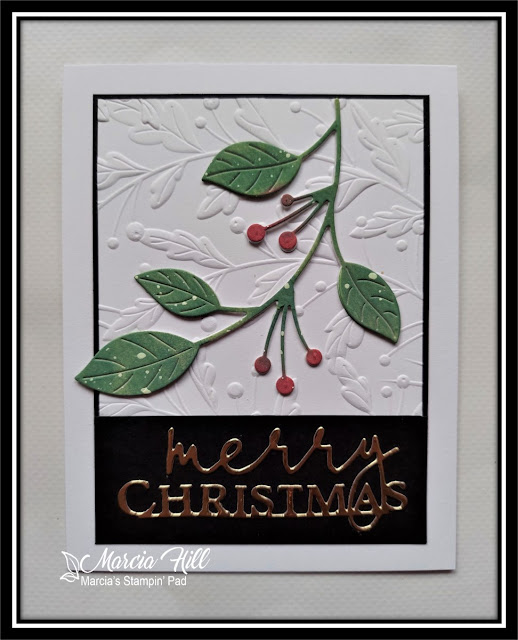
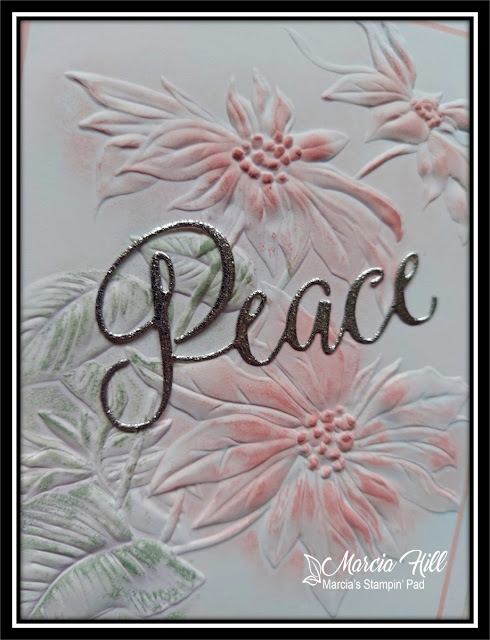
OK, enough chatter and let's get to the cards. I have two to share with you today, using a SSS die called Etched Berry Branch and a 3D embossing folder from Tim Holtz called simply Poinsettia.
My Etched Berry Branch die cut was colored with sponge daubers and Distress Oxide inks, and then splattered with white acrylic paint. My dry embossed background uses a MB embossing folder called Gracious Leaves that is probably one of my favorite buys of this year! I matted this layer with a piece of black cs and mounted both to top folding white card base. My sentiment is a die also from MB called Special Merry Christmas and was die cut from gold mirror cs.
Pretty simple, but I really like the way it turned out! My 2nd card uses the Tim Holtz 3D embossing folder called Poinsettia and is also a very simple card.
This card would be a very easy one to mass produce, and still looks so elegant and like you spent a lot of time on it! I used Altenew's blending brushes for this card, and their brushes are flat and not curved and rounded like most other companies. I inked two of the brushes up with Bundled Sage and Victorian Velvet Distress Oxide inks and then brushed the inside of the embossing folder on the depressed side of the folder (NOT the raised side). I then simply added my cs and ran it through my Big Shot, and voila! A colored AND embossed Poinsettia!!
I matted my embossed layer with a piece of Sweet Blush cs (PTI) and then adhered both to a top folding white card base. I finished simply with a die cut sentiment from Gina K using a scrap of sparkling silver cs.
Make sure you head on over to
Michele's blog to see what she created using the same die and embossing folder...she never disappoints, so make sure you check out her awesome creativity! I hope you enjoyed our play time together as much as Michele and I love getting together and playing cards!
Thanks for stopping by today ... I love it when you do!


