Tuesday, November 29, 2022

Peace On Earth Challenge #28

Hello friends.  Playing along with the gals over at the Peace On Earth Challenge where they have a BEAUTIFUL mood board to inspire your Christmas card making!


All those mugs of yummy hot drinks had me searching through my stash for another image with a mug in it, and I had more than I realized!  I'm probably the only one out there with this problem, right??  RIGHT??!!  Anyway, I chose to use a image from SSS/Pink & Main collaboration called Snowone Like You and came up with this...


If you haven't already noticed, I LOVE polka dots, and had fun paper piecing this sweet cup of hot cocoa with PTI's Pure Poppy dsp.  I added a bit of Pure Poppy ink around the edges and then finished coloring in the rest of the image with my Copics.  Next I die cut the image with a square stitched die and then ran it through an embossing folder from SU! called Winter Snow (retired).  


 I added some foam tape behind my image and attached to a panel of the same dsp as the cup but turned over for the smaller polka dots and a piece of Pure Poppy cs, before attaching to a white card base that was scored at 5 1/2" and 4".  This scoring left a space to add another Pure Poppy panel and a white panel that was embossed with the same Winter Snow ef.  I finished by adding some red ribbon and a Tiny Tag from PTI, some red & white baker's twine, and a few PFS Iridescent Clear Drops.  

There's not much time left to play in this challenge (closes Thursday, Dec. 1 @ 8:00PM), but trying to finish up these last minute Christmas cards and challenges like this help SO much!!  You can check it all out right HERE if you need to finish up those cards too!

Thanks for stopping by today ... I love it when you do!


Friday, November 25, 2022

Adding Texture & Shine

Hello friends.  No challenges today and a very heavy picture post after watching a Jennifer McGuire video (HERE) about adding texture and shine to our cards with PERFECT PEARLS and EMBOSSING FOLDERS.  This is one of those techniques where once you start, it's hard to stop because you want to try different color combinations and different embossing folders, and next thing you know you have a pile of cards.  

This is such an easy technique and it really packs a punch!  You are basically masking off all 4 edges of your cardstock piece, using two (or three) deep or darker colors to ink blend (I used Distress inks on all 5 of my cards), brushing on Perfect Pearls over your ink blending, removing the washi tape (or whatever you used to mask the 4 edges), and then running your cardstock through an embossing folder.  Jennifers video shows it all step by step, but it really is an easy process to follow.  


  I used Stormy Sky and Faded Jeans for my ink blending and then rather than using a embossing folder I used a cover plate die (PFS - Snowflakes) and my rubber mat to just make an impression rather than die cutting it.  


 The die cut snowflakes are also from PFS's Snowflakes set and the silver die cut sentiment is from MB Posh Let It Snow die.  A few Iridescent Clear Drops from PFS finished off this card.


This card uses two of my favorite colors together...pink & orange!  (Picked Raspberry & Spiced Marmalade)  I used MB's Gracious Leaves embossing folder on this one.


 I added a PB Berry Sprig gifted to me by my sweet friend Loll when she was clearing out some of her stash, and my sentiment is another MB Posh Script Just A Note die cut from gold mirror cs.  A few gold metallic pearls from PFS finished off this card.


This card used Peeled Paint, Crushed Olive, & Mowed Lawn inks and was then run through with Spellbinders Holiday Floral Swag.


This die cut sentiment is another one from MB called JOY AND CHEER and was once again die cut with gold mirror cs and finished off with a few more gold metallic pearls from PFS.


This was actually the first one I made and used Fired Brick and Mowed Lawn inks before running through with SSS's Holiday Greenery embossing folder.


 This sentiment is also from MB and is called Special Merry Christmas and once again cut from gold mirror cardstock and finished off with more gold metallic pearls from PFS.


My last card is my least favorite and I'm not quite sure what it is that I just don't care for about this one.  I'm thinking maybe the colors...  I used Picked Raspberry and Peacock Feathers and SSS's Holly Jolly Berries for the embossing folder.


I love the shine, the embossing folder, and the die cut sentiment too from Poppystamps (Holly Merry Christmas), but there's something about this one that just doesn't hit the mark!  Oh well, I like the other 4 SO much that I'm not going to worry about this one!  

So hopefully you're still with me and I haven't lost you along the way!  This really was a fun and addictive technique and the SHINE from the Perfect Pearls is FABULOUS!!  Hope you'll give this a try!  :0) 

Thanks for stopping by today ... I love it when you do!


Wednesday, November 23, 2022

Double D Challenge Nov. 2022 - Hot Beverages

Hello friends.  Playing along with the Double D Challenge where they are looking for Hot Beverages.


I am NOT a coffee lover, but I do like hot tea and definitely hot cocoa, so I used an old favorite stamp from Impression Obsession (E8612) to come up with this card...


I stamped my image with Versafine Black Onyx ink and then heat embossed with clear before coloring the sweet cup with my Copics.


After fussy cutting my image, I attached it to a background that I used a Spellbinders embossing folder on (Holiday Floral Swag).  I did use foam tape behind my image for a bit of dimension, and I also added some glitter to the whipped topping for a bit of holiday sparkle.  The sentiment comes from SU!'s Poinsettia Petals stamp set.

Pretty CAS but I really like the way this one turned out, and it's still cold enough here in Michigan that I wouldn't mind a cuppa right now!  Lots of wonderful inspiration from the DT, so check it all out right HERE and then play along.  This challenge is open till Dec. 4th at 8:00PM.

Wishing all my American friends a very happy and blessed Thanksgiving tomorrow!!

Thanks for stopping by today ... I love it when you do!


Monday, November 21, 2022

Color Hues #53 - SCARLET & GREEN

Hello friends.  Playing along with the Color Hues Challenge today where they are looking for SCARLET and GREEN.


Last year I was gifted Concord & 9th's Home For The Holidays Stacks Dies and had not used them yet, so I figured it was high time I got them out and used them!  I spent some time die cutting all the house and tree pieces in shades of Scarlet and Green and ended up with enough pieces to make two cards for today and still have enough pieces left over for another card later on!  My first card is extremely CAS and also uses a new embossing folder/die combo from SSS Pine Landscape.  Take a look...


 I used foam tape behind the Pine Landscape for dimension, and then added one of the houses (there are 3 different shaped houses in the set with all kinds of different pieces you can use to make many, many different designs!) in the center of the white trees.  


There are tree dies that also come with this set and lamp posts too, so of course I added both!  The sentiment is from a set that coordinates called Home For The Holidays, and the banner die is part of the house die set.  A little bit of glitter was added to some of the snow pieces that fit the tops of the trees and rooftops.  Did you notice the teeny tiny little wreath and bow...love that!!


My 2nd card uses 3 of the houses and SSS's Forest Border embossing folder for my background.  This card has a little bit more going on than my first card, but I'm loving how this one turned out too!


The sentiment is the same as the 1st card (it just really fits both these cards!!) and I placed it at the top for this 2nd card.  So, two cards that use all the same product and colors, but just enough difference to tell them apart!

 Do you have a favorite??  I like them both and can't believe I waited so long to pull this set out and have a play...will definitely be using this set again!!  Make sure you check out all the wonderful cards from the DT using Scarlet and Green right HERE and then play along!  (This is a great color combo if you haven't started on your Christmas cards yet...hint, hint!!)  This challenge is open till the 28th @ 9:00AM.

Thanks for stopping by today ... I love it when you do!


Thursday, November 17, 2022

Inspired By Friends

Hello friends.  A while ago, my sweet friend Bonnie used a retired stamp set from SU! called Painted Harvest where the 2 step stamps were meant to be used as a sunflower, but Bonnie made hers into Christmas Wreaths and WOW'd me!  Those sunflower wreaths also WOW'd another one of my sweet friends Michele, and we were both SO impressed with how Bonnie had used this stamp set!  Well of course I had to go digging through my SU! sets to find it and Michele asked if I could bring it along with me a couple weeks ago when we got together to play so she could try it out too.  We asked Bonnie if she'd like to play along with Michele and I and of course she said yes, so today's post was inspired by friends and the Painted Harvest set!

I have 3 cards to share with you today.  Two are Christmas and one is Fall, so let's get started!  A few weeks ago, I did a post using heavy weight vellum as my card base (HERE) and I liked it so much that I used that technique again for my 1st card.


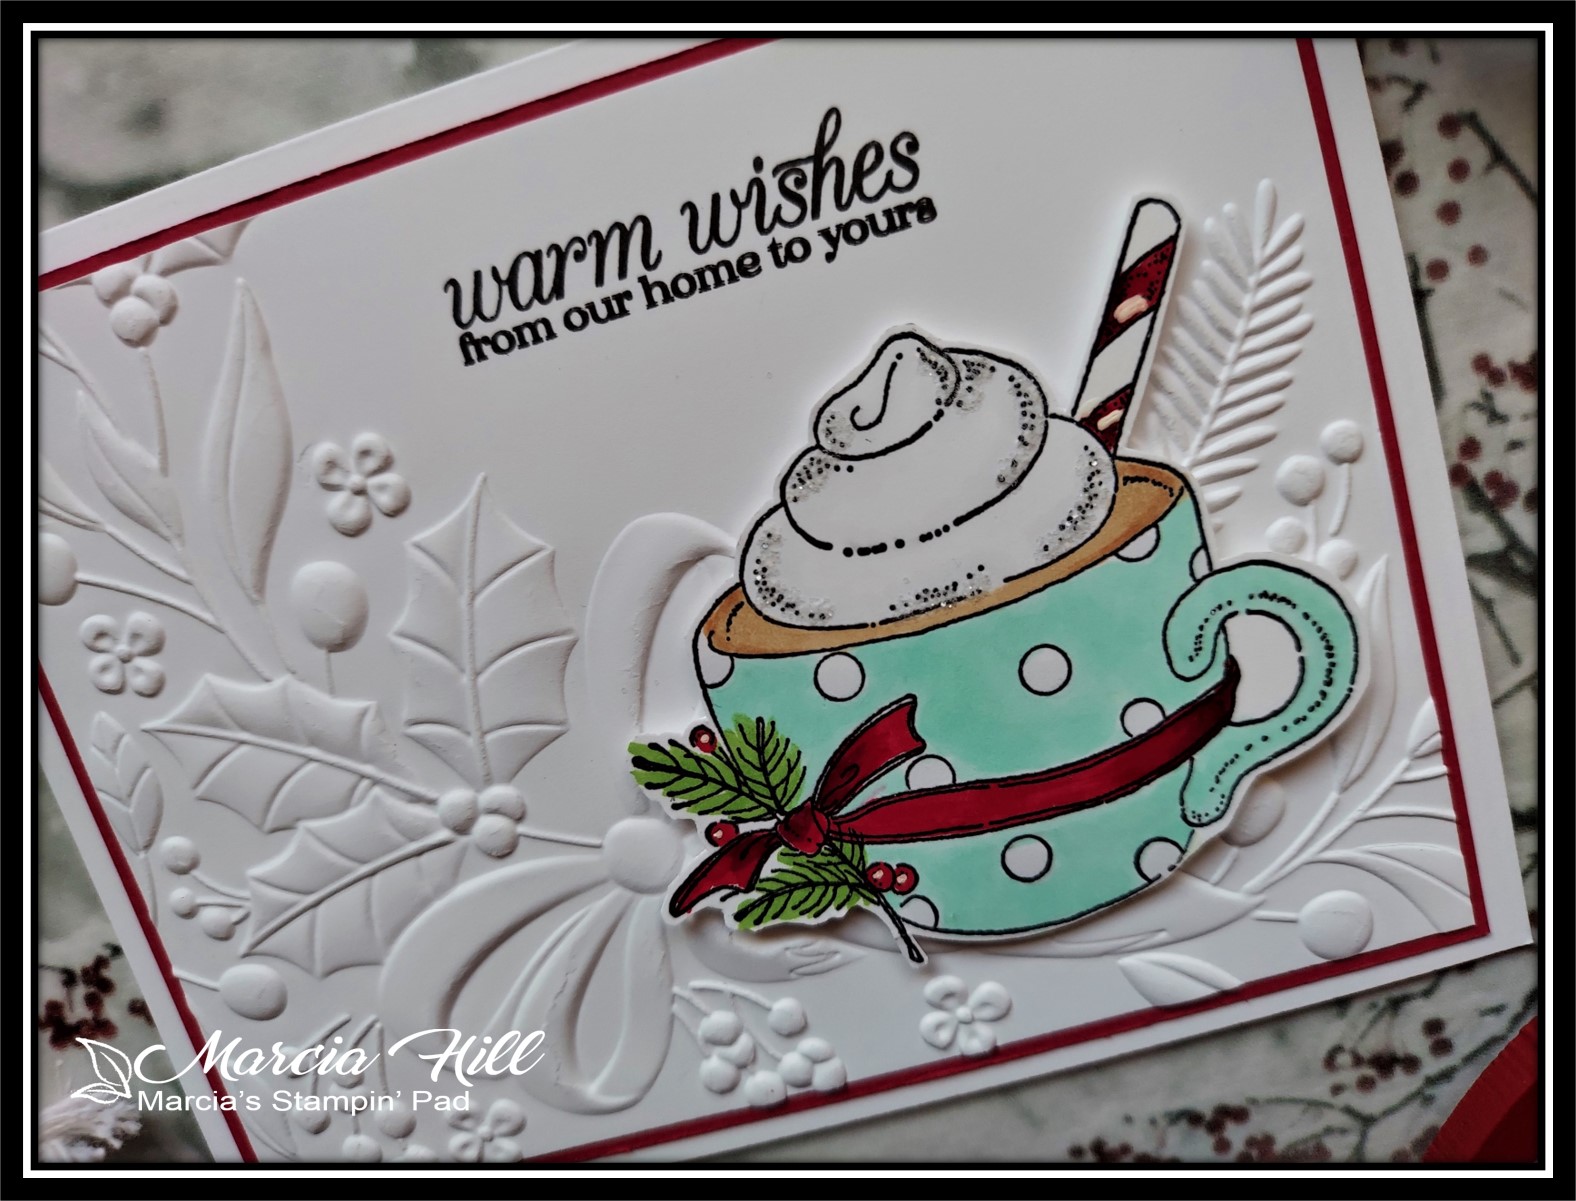
I started by embossing my vellum card base with a Spellbinders embossing folder called Scattered Christmas...it's a new one this year and I'm really loving it!  Next I stamped my wreath with SU!'s Pear Pizazz and Old Olive inks.  I stamped the berries in Real Red ink, but they didn't show up that well, so I used some red Stickles.


Hopefully you can see the sparkle from this close up a bit better!  Once the berries were dry, I die cut my image using a square stitched die from SU! and layered it with a piece of a deep red shimmery cardstock that was in my stash before attaching it to my embossed vellum base.  I used that same deep red cardstock to die cut my bow (The Greetery) and my sentiment (Special Merry Christmas from Memory Box), and this card was done!  


My 2nd card is my favorite I think!  I stamped the wreath first in Soft Succulent and Evening Evergreen inks (SU!) and then ran my panel through SSS's Forest Border embossing folder.  I bought this folder last year and then never used it...WHY??!!  I love, LOVE the way it looks in the white on white!!  


I used SSS's Big Joy die to cut out the "J" and "Y" several times (to stack for dimension) and then attached on either side of the wreath.  I matted this layer with a piece of Evening Evergreen cs and attached both layers to a white card base.  To finish I added a pop of color with the red birds using PTI's In The Meadow dies and then added a few Iridescent Clear Drops from PFS.  


My last card uses this sunflower stamp in a completely different way, and I wish I could tell you I thought it up on my own, but some creative stamper back when this set was first released thought to make the sweet hedgehog using just half of the stamps.  Isn't he a cutie?!!  I used Crumb Cake and Soft Suede inks (SU!) for my hedgie, and for his eyes and nose I used a black glaze pen.  I stamped a few of the greenery pieces around him using Old Olive, Terracotta Tile, & Mango Melody inks, and then used an old Lil Inker Stitched Rectangle die to cut my panel out.  


I framed my little guy out with a piece of kraft cs that I embossed with SSS's Fall Foliage embossing folder, and then used a brayer and HA's Unicorn White Pigment ink to lightly ink up the leaves so they'd show up better.  I finished with a sentiment from Gina K and a few Sparkling Champagne Metallic Pearls from PFS.

So there you have my 3 cards using a stamp set that was originally intended for a sunflower...all to show you there are so many different ways to use stamps than what they were originally intended for!  I can't wait to see what my sweet friends did with this same stamp set, so check them out here...Michele and Bonnie.  They always knock my socks off with their creativity, so come along and check it all out with me!  And as always, thanks for the sweet inspiration my friends!!

Thanks for stopping by today ... I love it when you do!


Monday, November 14, 2022

Peace On Earth Christmas Challenge #27

Hello friends.  Finishing up with some Christmas cards and playing along with the Peace On Earth Christmas Challenge where I fell in love with the mood board...


I loved all the photos, but especially the cute little kitty all tangled up in the Christmas lights!  I don't have many cat images in my collection though as we are really dog people, so here's my take on the photo...


This CAS card depicts our dog Daisy as she tries every year to help with the decorating!  Truly she tries, but I have to be honest...she just doesn't have much skill in this area and needs to leave the decorating to me!  

This little cutie comes from MFT's Deck the Howls and was colored with my Copics.  I also used some WOS on the lights, so in real life they really do sparkle!  I die cut the opening using MFT's Peek-A-Boo Rectangle Die and placed a scrap of striped dsp from my stash (I think it's from SU!).


 The sentiment also comes from the Deck the Howls stamp set and I finished with a few Clear drops: Iridescent from PFS.  A really quick and easy card, but that's what I need right now to finish up my stash so I can get busy and address them and get them mailed out on time!

You can check out all the FABULOUS inspiration from the DT right HERE to play along if you need to finish (or get started!!!!!) on your Christmas cards!  This challenge is open till the 17th @ 8:00PM.

Thanks for stopping by today ... I love it when you do!


Thursday, November 10, 2022

The Flower Challenge #74 - Add Embellishments

Hello friends.  I'm playing along with The Flower Challenge today and they would like us to add EMBELLISHMENTS to our FLOWER cards.


This was an easy challenge for me as I had a brand new stamp set to play with and I just about ALWAYS add EMBELLISHMENTS to my cards...can't help it as there's just too many pretty ones out there to add to our cards today!!

I actually have a twofer for you today as I'm trying to finish up my Christmas cards, and it was just as easy to stamp 2 of the flower images as one of them, and although they're very similar, I like this first one the best!  I absolutely love Poinsettias and have been playing around with all sorts of color combinations lately (they really do come in all kinds of colors lately in real life!!), but for this stately image I just had to go with the traditional deep red!  I'm using Gina K's Precious Poinsettia (designed by Arjita Singh) 2 step stamping set and came up with this...


 Isn't that such a pretty image?!!  I started with a dry embossed background using fsj's Evergreen embossing folder and matted it with a Real Red layer and then attached both to a top folding white card base.


I used my MISTI to stamp the outline image in Garden Green (SU!) ink and then added the 2nd layers with Poppy Parade and Cherry Cobbler inks (SU!) and Garden Green again for the leaves.  I die cut the image and then used foam tape on the back for dimension.  


 To finish I used PFS's Gold Metallic Pearls for the centers of the 2 blooms, and then added a foiled sentiment from Spellbinders Yana's Christmas Sentiments set and Aura foil.  Love how CAS and elegant this one turned out!!


My 2nd card is very similar to the 1st card...just changed up a few things like the Hemstitch Rectangle Die (Spellbinders) and a different sentiment from the same Yana's Christmas Sentiments set, also foiled with Aura foil.


For the embellishments on this card I used PFS's Clear Drops: Iridescent gems and they really pick up all kinds of color in real life.  I did not use foam tape on the back of this flower, but I did add several die cut layers to the sentiment to give it some dimension.

So there you have my twofer Poinsettia cards with added EMBELLISHMENTS...can you pick a favorite??!!  This challenge is open till the 25th @ 5:00PM, so plenty of time to play along!  Make sure you check out all the FABULOUS inspiration from the DT right HERE.

Thanks for stopping by today ... I love it when you do!


Monday, November 7, 2022

Color Hues #52 - Turquoise & Mustard

Hello friends.  Playing along with one of my favorite challenges today...Color Hues and they are looking for TURQUOISE and Mustard on our cards.


My first thought was to do a Christmas card using these 2 colors as I still need a few more made for my stash, but these colors definitely said AUTUMN to me, so I changed direction and here's what I came up with...


I started by stenciling my background using PFS's Kaleidoscope stencils and Gina K inks Honey Mustard, Turquoise Sea, and a bit of Tranquil Teal for the dots.  I matted this layer to a Turquoise Sea layer and attached both to a top folding white card base.  Next I die cut all my wheat pieces from The Greetery's BotaniCuts: Wheat Dies with white cardstock and then ink blended them with the Honey Mustard ink.  I arranged them on a Crimped Circle Die Cut (also The Greetery) that I blended just a bit of Turquoise Sea ink onto.


I finished by using an older PTI die called Counting My Blessings Die Collection from Turquoise Sea cardstock and added foam for a little dimension.  I also added a small twine bow to the wheat bundle for a little extra something, something.

There are so many BEAUTIFUL cards from the DT to inspire you using this color combo, so check it all out and play along right HERE.  This challenge is open till Nov. 14th @ 9:00AM.

Would also like to add this card to the current Double D Challenge who would like to see cards that are inspired by Thankful - Blessings - Grateful.  You can find it all right HERE to play along!


Thanks for stopping by today ... I love it when you do!


Friday, November 4, 2022

Grow Wild

Hello friends.  Not playing in any challenges today as I've been busy trying to get caught up on my Christmas card stash...and I'm actually getting there!  YAY!!  But no Christmas here today.  I actually needed a birthday card and a couple thinking of you cards, but unfortunately had no mojo!  When nothing's coming to me I usually go on over to Jennifer McGuire's blog as she is always full of ideas! This time I found a great video on using heavy weight vellum that's been dry embossed as a card base, and have 3 cards to share with you.  If you want to check out Jennifer's video, you can find it right HERE.

Let's start with my 2 Thinking of You cards...


You'd think making the card base from vellum would make it pretty flimsy, but between using a heavy weight vellum and the extra cardstock you're adding to it, it really stands up beautifully!


For my 1st card, I used Memory Box's Gracious Leaves embossing folder on my vellum card base...I love the look the embossing on the vellum gives!  Next I stenciled PFS's Grow Wild (set of 6 stencils) with Gina K's Light, Medium, & Dark Lilac inks and a couple green and yellow inks on a piece of white cardstock and then die cut the piece using SU!'s Celebration Label Dies.  I also cut 3 additional pieces with the label die from plain white cardstock and added one to the back of the card first, then added another to the inside where you write your message (this way it hides the glue or adhesive on the vellum), another plain white piece to the inside front, and then the stenciled piece on the front over the embossing.  I hope this makes sense, but if not, check out Jennifer's video as she explains and demonstrates it beautifully!  My sentiment was foiled using a Spellbinders hot foil plate and Aura foil, and I finished with a piece of SU! ribbon at the top.


 My 2nd card was done the same way as the first and was stenciled using shades of yellow inks from PFS and a SU! embossing folder called Parisian Flourish 3D.  Same foiled sentiment and ribbon in a green to match with the leaves.


My 3rd card was a special birthday card for one of my sweetest friends, and I used the same Grow Wild stencil with shades of pink inks (Gina K and PFS) and SSS's Vine Canopy embossing folder.  


My "birthday" was die cut from silver mirror cardstock using a Gina K die, and I attached the Tiny Tag (PTI) with some bright pink embroidery floss to one of the loops of the birthday die cut.  A few silver pearls finished off my card.  

This really is such an easy technique to do and adds such a lovely touch to a card.  I rarely think to use vellum but watching Jennifer's videos has made me look at it a bit differently and hopefully I'll be adding it to more of my cards in the future!  Well back to the Christmas stash...it'll be here before we know it!      

Thanks for stopping by today ... I love it when you do!